这一节,我们要做一个登录图形验证码校验的功能,为了实现可配置,我们将使用大量接口以及配置类,极大程度降低耦合性,做一个可重用的功能
生成图形验证码接口
创建验证码信息封装类
1 | public class ImageCode { |
创建验证码生成类
1 |
|
这里配置在Controller里,这样哪里需要验证码,只需请求这个API即可
修改登录页添加二维码
1 | <tr> |
认证流程中加入图形验证码校验
这里我们需要先创建一个自定义Exception类,用来处理图像验证码匹配的异常
创建图形验证码Exception
1 | public class ValidateCodeException extends AuthenticationException { |
然后添加一个自定义过滤器,用来拦截图像验证码校验
创建图像验证码拦截器
这里继承OncePerRequestFilter,为只执行一次的过滤器
1 | public class ValidateCodeFilter extends OncePerRequestFilter { |
这里如果匹配失败,直接调用认证失败处理,然后return防止接下来的拦截器继续执行
修改Security配置
最后我们只需在BrowserSecurityConfig中添加一个前置过滤器即可,这里需要添加在UsernamePassword过滤器之前验证
1 |
|
启动测试
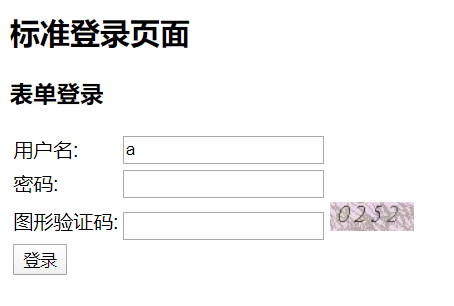
首先在login页面可以看到验证码,然后不输入验证码直接登录
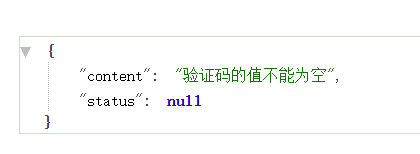
提示验证码不能为空,输入正确的验证码
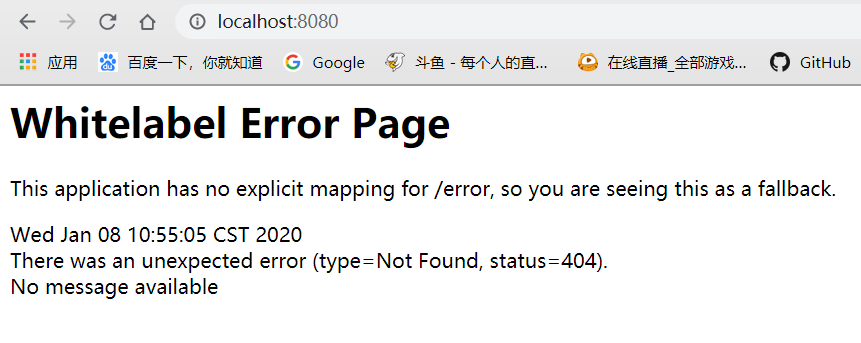
登录成功,只是我们没有默认请求,所以才404
代码重构
这里不难发现上面代码的几个缺点
- 图片验证码不可配置,长宽位数都是固定的
- 拦截验证的路径写死,不可配置
- 生成验证码逻辑写死,如果想用自己的生成逻辑覆盖困难
接着我们就将代码进行重构,使得变的更加可重用化
验证码参数可配置
思路:将几个参数封装成Properties配置类,添加到总的Security配置中,在application.properties中配置,修改生成二维码中的几个参数,使用配置中的参数
1.创建ImageCodeProperties
为长宽,位数,超时时间的基本配置
1 | public class ImageCodeProperties { |
2.创建ValidateCodeProperties
因为后面可能会加上短信验证码等其他验证码,所以对验证码再进行封装一层
1 | public class ValidateCodeProperties { |
3.修改SecurityProperties
1 | ("enbuys.security") |
添加ValidateCodeProperties
4.修改图像验证码生成逻辑
1 |
|
这里一些代码进行了省略,主要是长宽等基础信息从配置中读取
5.application.properties中添加配置
1 | =5 |
6.启动测试
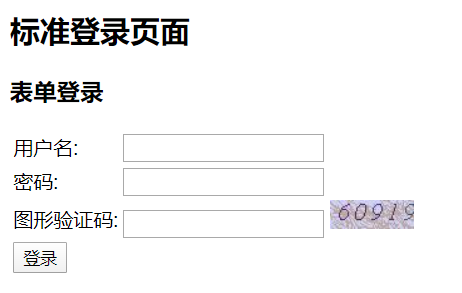
验证码变成了5位,说明重构成功
验证拦截路径可配置
思路:在配置类中添加url参数,配置文件中使用逗号分隔,拦截时进行分隔,循环判断次路径是否匹配
1.修改ImageCodeProperties
添加url参数
1 | public class ImageCodeProperties { |
2.修改拦截器
1 | public class ValidateCodeFilter extends OncePerRequestFilter { |
这里还需要在Security配置类中添加SecurityProperties
1 |
|
3.在配置文件中添加url配置
1 | =/user/*,/helloworld,/authentication/form |
4.启动测试
访问http://localhost:8080/helloworld
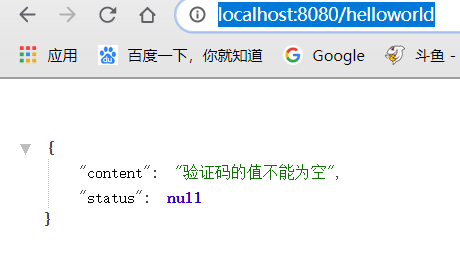
发现提示验证码不能为空,说明拦截成功,即配置成功
验证码生成逻辑可配置
思路:将生产验证码Controller中的生成方法抽离,配置成接口的形式,然后将其注入容器中,并添加上@ConditionOnMissingBean注解,这样如果想自定义生成逻辑,只需向容器中添加此组件即可
1.创建ImageCodeGenerator
1 | public class ImageCodeGenerator implements ValidateCodeGenerator { |
2.创建ValidateCodeGenerator接口
1 | public interface ValidateCodeGenerator { |
3.创建ValidateBeanConfig配置类,将接口注入到容器
1 |
|
这里当想要自己写一个图片验证生成逻辑时,只需向容器中添加imageCodeGenerator的组件即可
4.修改ValidateCodeController类
1 |
|
注入ValidateCodeGenerator调用方法实现生成验证码
5.在Demo模块下创建DemoImageCodeGenerator
这里我们在Demo模块下创建一个图片验证码生成器,看看会不会覆盖默认的
1 | ("imageCodeGenerator") |
6.启动测试

访问时可以看到控制台正确打印信息,因为返回null所以报了空指针异常
总结
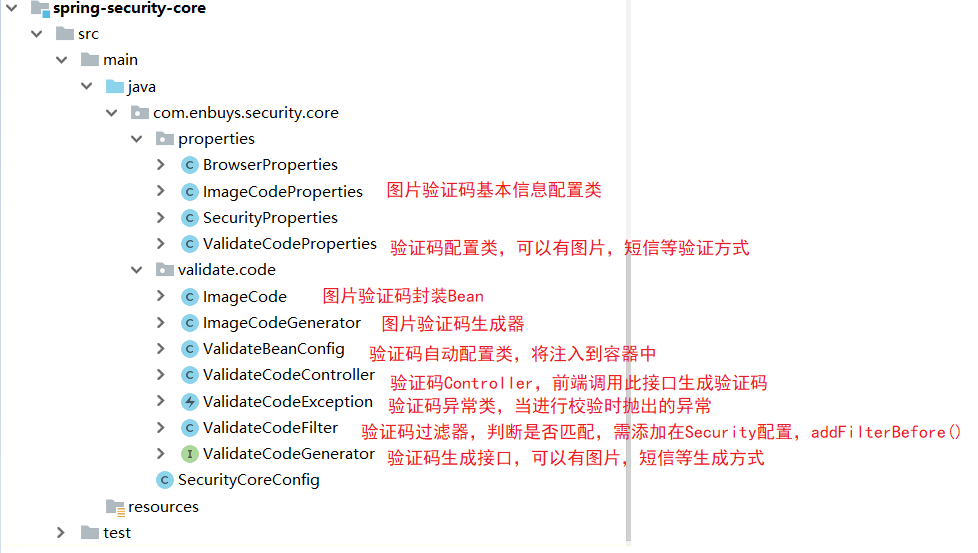
最后工程目录如下,可配置项为:
1 | =100 |
以及自定义图片验证码生成接口,在容器中添加
1 | ("imageCodeGenerator") |