上一节我们简单介绍了如何自定义用户认证策略,包括
- 设置用户名密码,权限
- 设置用户过期,密码过期等策略
- 设置用户密码的加密与加密方式
这一节我们研究如何自定义用户认证的流程,一个是流程一个是策略,流程包括:
- 自定义登录页面:之前都是使用SpringSecurity默认的表单页面,这里我们要个性化一个登录页
- 自定义登录成功后处理:有时候我们希望登录成功处理后不只是简单跳转到首页,我们还希望给用户颁发优惠券等等。
- 自定义登录失败后处理:当用户登录失败后,我们有时候也希望记录日志等信息,而不是像上一章节中直接弹出登录错误的提示。
自定义登录页
简单实现
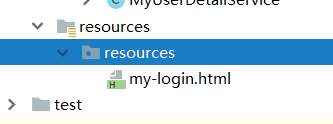
1.创建一个html登录页
1 |
|
注意,html要放在/resources/resources/文件夹下
2.configure()修改
1 |
|
这里主要添加了:
loginPage:自定义登录页loginProcessingUrl:将表单请求路径交给表单拦截器处理antMatchers().permitAll():释放登录页过滤,不然会一直重定向csrf().disable():关闭csrf防护,后面说到Security安全防护会说到
3.启动测试
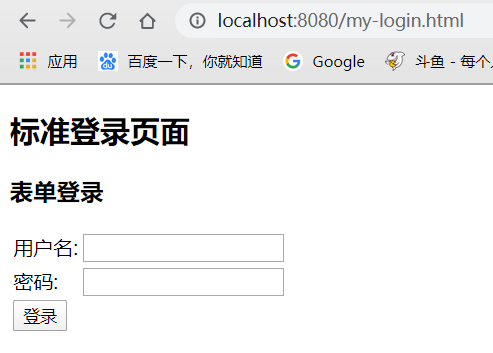
成功跳转自定义登录页,登录后成功访问
问题
- 这里我们请求http://localhost:8080/helloworld,一个REST请求,却返回
.html结尾的登录页,应该返回json格式响应才对,前端根据返回的json信息进行处理 - 这里的登录页是固定的,但是如果各个服务想使用不同的登录页,应该如何个性化呢?
代码重构
我们针对两个问题,提出解决方案
- 问题一:将认证转跳到Controller上,简单判断请求是否为html请求,如果是则转跳登录页,如果不是说明REST请求,返回Json数据
- 问题二:将登录页配置化,创建配置文件添加到容器中
添加返回数据包装类
在browser模块下
1 | public class SimpleResponse { |
这里简单写了一下,主要返回内容和状态码
创建配置相关类
在core模块下
首先创建BrowserProperties,为登录页地址的配置:
1 | public class BrowserProperties { |
然后创建SecurityProperties,为Security的一些配置,后面需要再进行添加比如二维码配置,第三方登录配置,这里先抽象出来,这也是为什么BrowserProperties没有直接添加@ConfigurationProperties的原因
1 | ("enbuys.security") |
创建自动装配类SecurityCoreConfig,将配置类注入到容器中
1 |
|
这样,我们就可以在配置文件中通过enbuys.security.browser.loginPage进行配置登录页面了
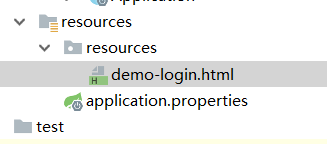
在demo模块添加配置并创建登录页
application.properties
1 | =/demo-login.html |
demo-login.html
1 |
|
需要注意,html需要放在resources/resources/文件夹下
创建Controller类统一认证请求
在browser模块下
1 |
|
代码很简单,就是获取请求路径,判断是否以html结尾
- 是则重定向到登录页
- 不是则返回json信息,让前端进行处理
修改BrowserSecurityConfig配置
1 |
|
这里需要将登陆请求改为controller中编写的路径,并把配置文件配置的请求进行认证过滤
启动测试
首先请求http://localhost:8080/helloworld
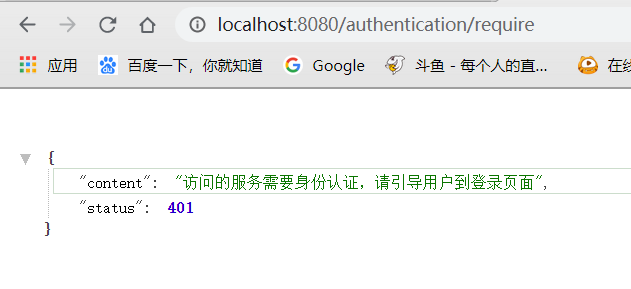
正确返回Json数据,说明问题一成功解决
然后请求http://localhost:8080/helloworld.html看看是否转跳自定义登录页
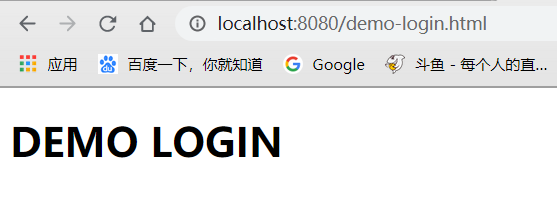
转跳到DEMO登陆页,说明问题二也成功解决
自定义登录成功后处理
这很简单,SpringSecurity提供了一个AuthenticationSuccessHandler接口,只需重新他的唯一抽象方法onAuthenticationSuccess()即可
创建自定义成功处理类
1 |
|
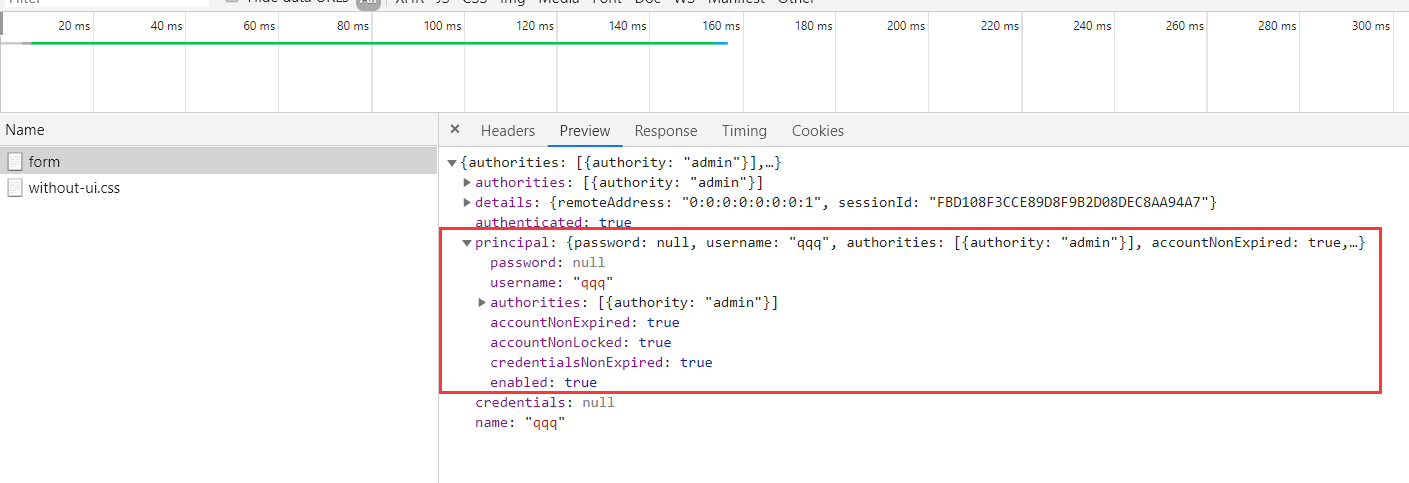
这里就是将Authentication对象转成json返回
在BrowserSecurityConfig中配置
1 | http.formLogin() |
启动测试
代码重构
这里我们要将登录成功后的处理进行配置,根据配置文件来控制是返回JSON信息还是跳转请求页面
修改Core模块BrowserProperties配置类
1 | public class BrowserProperties { |
修改自定义成功处理类
1 |
|
application.properties中添加配置
1 | =json |
自定义登录失败后处理
和SuccessHandler一样,SpringSecurity提供了一个AuthenticationFailureHandler接口,只需重新他的唯一抽象方法onAuthenticationFailure()即可
创建自定义成功处理类
1 |
|
这里就是将AuthenticationException对象转成json返回,并设置状态码为500
在BrowserSecurityConfig中配置
1 | http.formLogin() |
启动测试
