06.SpringBoot-启动器

自定义Starter

一般来说,一个starter会伴随着自动配置类,这样启动的时候就会自动加载到容器中

1
2
3
4
5
6
7
8
9
10
11
12
13
@Configuration  //指定这个类是一个配置类
@ConditionalOnXXX //在指定条件成立的情况下自动配置类生效
@AutoConfigureAfter //指定自动配置类的顺序
@Bean //给容器中添加组件

@ConfigurationPropertie结合相关xxxProperties类来绑定相关的配置
@EnableConfigurationProperties //让xxxProperties生效加入到容器中

自动配置类要能加载
将需要启动就加载的自动配置类,配置在META-INF/spring.factories
org.springframework.boot.autoconfigure.EnableAutoConfiguration=\
org.springframework.boot.autoconfigure.admin.SpringApplicationAdminJmxAutoConfiguration,\
org.springframework.boot.autoconfigure.aop.AopAutoConfiguration,\

格式:

启动器只做依赖导入,底层会再包含一个自动配置模块,别人只需要引入启动器(starter)

官方启动器:spring-boot-starter-xxx

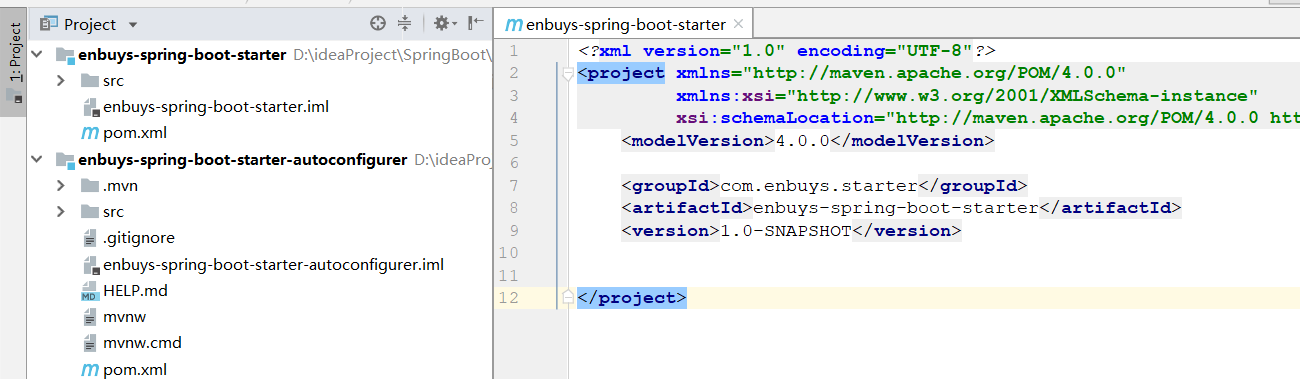
自定义启动器:xxx-spring-boot-starter

启动器创建步骤:

1)创建一个空工程,并创建一个maven启动器模块,一个springboot的自动配置模块
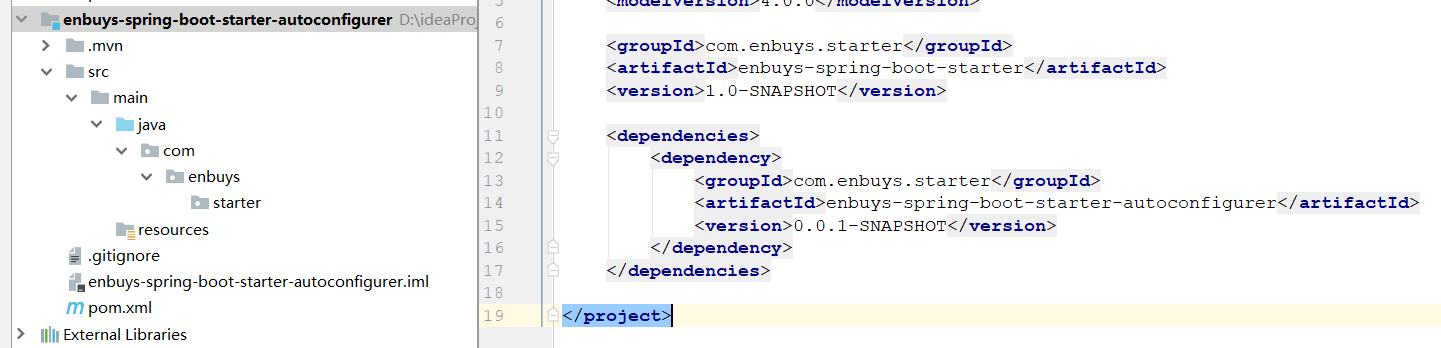
1572433750594

2)在启动器模块引入自动配置模块

1
2
3
4
5
6
7
<dependencies>
<dependency>
<groupId>com.enbuys.starter</groupId>
<artifactId>enbuys-spring-boot-starter-autoconfigurer</artifactId>
<version>0.0.1-SNAPSHOT</version>
</dependency>
</dependencies>

3)将自动配置模块中不需要的一些东西删除

如test依赖,maven依赖,只需要springboot-starter依赖即可,并把测试类和主程序配置文件删除

1572433929593

并添加springboot启动器依赖,这里我还添加了web依赖是因为方便一会测试

1
2
3
4
5
6
7
8
9
10
11
<dependencies>
<dependency>
<groupId>org.springframework.boot</groupId>
<artifactId>spring-boot-starter</artifactId>
</dependency>

<dependency>
<groupId>org.springframework.boot</groupId>
<artifactId>spring-boot-starter-web</artifactId>
</dependency>
</dependencies>

4)编写配置文件类,存放可以在配置文件中配置的一些属性

1
2
3
4
5
6
7
8
9
10
11
12
13
14
15
16
17
18
19
20
21
22
@ConfigurationProperties("enbuys.hello")
public class HelloProperties {

private String prefix;
private String suffix;

public String getPrefix() {
return prefix;
}

public void setPrefix(String prefix) {
this.prefix = prefix;
}

public String getSuffix() {
return suffix;
}

public void setSuffix(String suffix) {
this.suffix = suffix;
}
}

这里我写了一个前缀一个后缀,名称以enbuys.hello开头

5)编写Service类

1
2
3
4
5
6
7
8
9
10
11
12
13
14
15
16
public class HelloService {

private HelloProperties helloProperties;

public HelloProperties getHelloProperties() {
return helloProperties;
}

public void setHelloProperties(HelloProperties helloProperties) {
this.helloProperties = helloProperties;
}

public String hello(String name){
return helloProperties.getPrefix()+" "+name+" "+helloProperties.getSuffix();
}
}

这个类在别人引入我们starter后,可以直接通过@Autowired注入并使用方法,比如调用hello()方法,对其加上前后缀

6)编写自动配置类(重要)

1
2
3
4
5
6
7
8
9
10
11
12
13
14
15
@Configuration
@ConditionalOnWebApplication
@EnableConfigurationProperties(HelloProperties.class)
public class HelloServiceAutoConfiguration {

@Autowired
private HelloProperties helloProperties;

@Bean
public HelloService helloService(){
HelloService helloService = new HelloService();
helloService.setHelloProperties(helloProperties);
return helloService;
}
}

需要加上几个重要的注解,标志他是配置类,在web应用下启动,自动配置属性

并将我们写的HelloService注入到容器中

7)编写META-INF/spring.fatories

1
2
org.springframework.boot.autoconfigure.EnableAutoConfiguration=\
com.enbuys.starter.HelloServiceAutoConfiguration

这样springboot启动时,才会扫描这个文件来进行自动装配Hello组件到容器中

8)将自动配置模块和启动器模块打包到maven库中

注意先后顺序,需要先打包自动配置模块才行

测试启动器

1)在测试模块加入我们enbuys启动器依赖

1
2
3
4
5
6
7
<dependencies>
<dependency>
<groupId>com.enbuys.starter</groupId>
<artifactId>enbuys-spring-boot-starter</artifactId>
<version>1.0-SNAPSHOT</version>
</dependency>
</dependencies>

因为enbuys启动器已经添加了web依赖,就不用再添加了

2)创建controller类

1
2
3
4
5
6
7
8
9
10
11
@RestController
public class HelloController {

@Autowired
private HelloService helloService;

@GetMapping("hello")
public String hello(){
return helloService.hello("myStarterTest");
}
}

3)配置文件配置属性

1
2
enbuys.hello.prefix=prefix
enbuys.hello.suffix=enbuys

4)启动测试

1572436548929

说明我们的自定义启动器已经创建成功