一、JDBC
SpringBoot整合JDBC十分简单,只需添加jdbc与mysql依赖即可:
1 | <dependency> |
然后配置数据库相关信息:
1 | =root |
注意,在SpringBoot1.x时默认使用jdbc.pool做数据源,而再2.x后便默认使用HikariDataSource了
在配置url时,应添加serverTimezone=Asia/Shanghai参数,不然启动会报错
1.1.数据源
经过测试,发现2.x使用了HikariDataSource数据源,我们看下源码,对于jdbc的默认配置都在org.springframework.boot.autoconfigure.jdbc包下:
DataSourceConfiguration:默认支持tomcat.jdbcpool,hikari,dbcp2
1 | abstract class DataSourceConfiguration { |
1.2.启动执行sql脚本
SpringBoot在启动项目时,可以执行一些sql脚本,如建表语句或数据插入语句
通过DataSourceInitializer:
1 | class DataSourceInitializer{ |
对于springboot2.x,启动时会判断initialization-mode是否配置,如果没有配置时默认关闭的,即启动时不会执行任何sql脚本,所以,如果想要自动执行sql脚本,需要配置spring.datasource.initialization-mode=always,而对于springboot1.x便不需要
根据源码,springboot会自动执行schema.sql或schema-all.sql(data.sql或data-all.sql)的脚本,当然也可以在配置文件里配置,为list形式,可以配置多个脚本
1 | =classpath:department.sql,classpath:employee.sql |

可以看到,库里多了两张表
1.3.JDBCTemplate
JDBCTemplate是SpringBoot自动加载的一个组件,用来对数据库进行增删改查操作,这里只测试下查询操作,因为对于使用SpringBoot来说,配合使用Mybatis比较多,JDBC一般不会用。
1 |
|
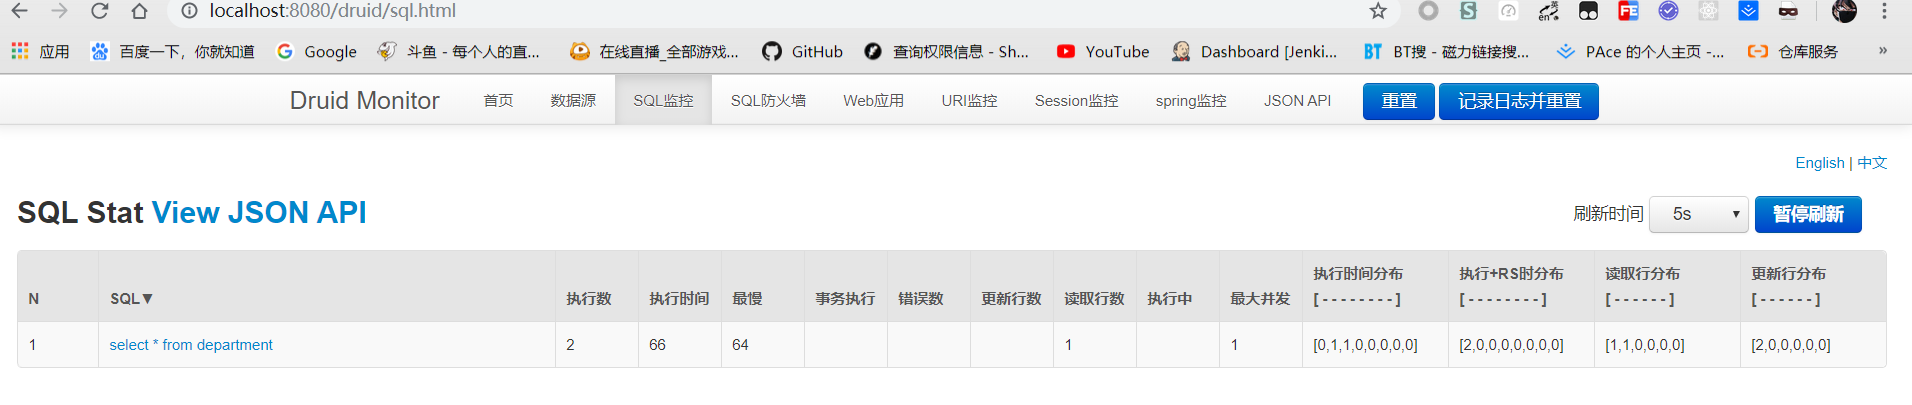
1.4.整合Druid
对于数据源来说,Druid优点很多,自带的数据监控防火墙等等,很好用,所以一般都是使用Druid来做数据源
1)引入Druid
1 | <dependency> |
2)在配置文件中配置
1 | spring: |
对于Druid的数据源配置,都是根据官方提供的,不做太多讲解了
3)把Druid加到容器中
1 |
|
这里运用到我们以前学的知识,配置一个自动配置类,并使用@Bean加载到容器中,并使用@ConfigurationProperties来做配置属性的映射。
而对于Druid监控所必须的Servlet和Filter也不过多介绍了,主要就是配置一些东西就可以
二、Mybatis
整合只需添加依赖:
1 | <dependency> |
步骤:
1)、配置数据源相关属性(见上一节Druid)
2)、给数据库建表
3)、创建JavaBean
2.1.注解版
Dao:
1 | //指定这是一个操作数据库的mapper |
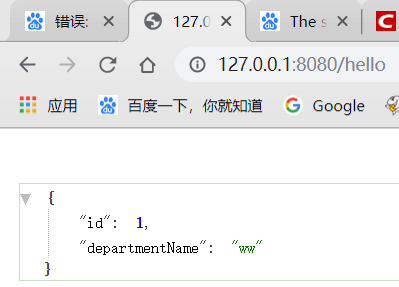
Controller:
1 |
|
驼峰问题
1)需要使用自动配置,和往常一样,创建一个类,给容器中添加ConfigurationCustomizer组件
1 | .springframework.context.annotation.Configuration |
2)配置文件配置
1 | =true |
@Mapper问题
可以发现我们的dao类上添加了一个@Mapper注解,如果有很多dao就需要添加很多的mapper注解,我们也可以在启动器上添加一个mapper扫描注解,便不需要每个dao都添加一个mapper注解了
1 | ("com.enbuys.springboot.dao") |
2.2.配置版
随便springboot强调全注解开发,但也要了解下配置mapper文件
dao层:
1 | public interface EmployeeDao { |
mybatis全局配置文件:
1 |
|
对应mapper:
1 |
|
springboot配置文件
1 | # mybatis |
三、JPA
对于JPA也不过多介绍了,是一个非常好用的ORM框架,说说如何集成
1)在pom文件中引入:
1 | <!--引jpa--> |
2)创建实体类
1 |
|
3)写一个接口集成JpaRepository,这个类有很多自带的增删改查的方法,可以直接使用
1 | // 只需继承JpaRepository即可 |
4)配置文件配置
1 | spring: |
可以看到,因为配置了spring.jpa.hibernate.ddl-auto=update,所以在启动项目时,会判断是否有这个表,如果没有创建,如果有判断实体与表映射关系是否正确,如果实体修改了,也会修改表。
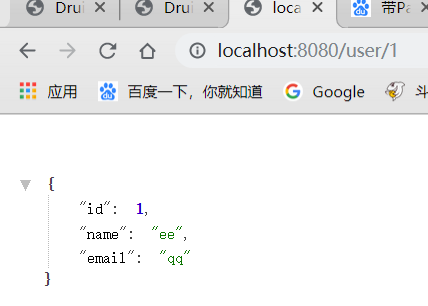
如图:新建了user这张表

5)controller测试
1 |
|