一、Spring简单介绍
SpringBoot是为了简化开发人员开发而出现的,在之前使用SSM时,需要配置很多xml文件,才可以进行使用开发,使用Springboot,所有东西基本都自动帮你配好,只需写一些自定义的配置即可开发,是相当方便的一站式开发脚手架。
并且对于部署也相当方便,在以前可能需要安装tomcat然后把项目打成war包,再放到tomcat中,才算部署成功。使用Springboot,只需打成jar包,使用java命令运行即可。
二、环境准备
–jdk1.8:Spring Boot 推荐jdk1.7及以上;java version “1.8.0_112”
–maven3.x:maven 3.3以上版本;Apache Maven 3.3.9
–IntelliJIDEA2017:IntelliJ IDEA 2017.2.2 x64、STS
–SpringBoot 1.5.9.RELEASE:1.5.9;
三、Springboot Helloworld
我们来做一个功能,用户访问hello接口,然后返回helloworld文字
1.创建一个maven项目
2.加入springboot依赖
1 | <parent> |
3.创建一个主程序运行应用
1 | /** |
SpringBoot不同于普通的Spring项目,只需配置个注解,即可直接Java运行,而不是放到tomcat中,再启动tomcat。因为SpringBoot中嵌入了tomcat
4.编写controller类
1 |
|
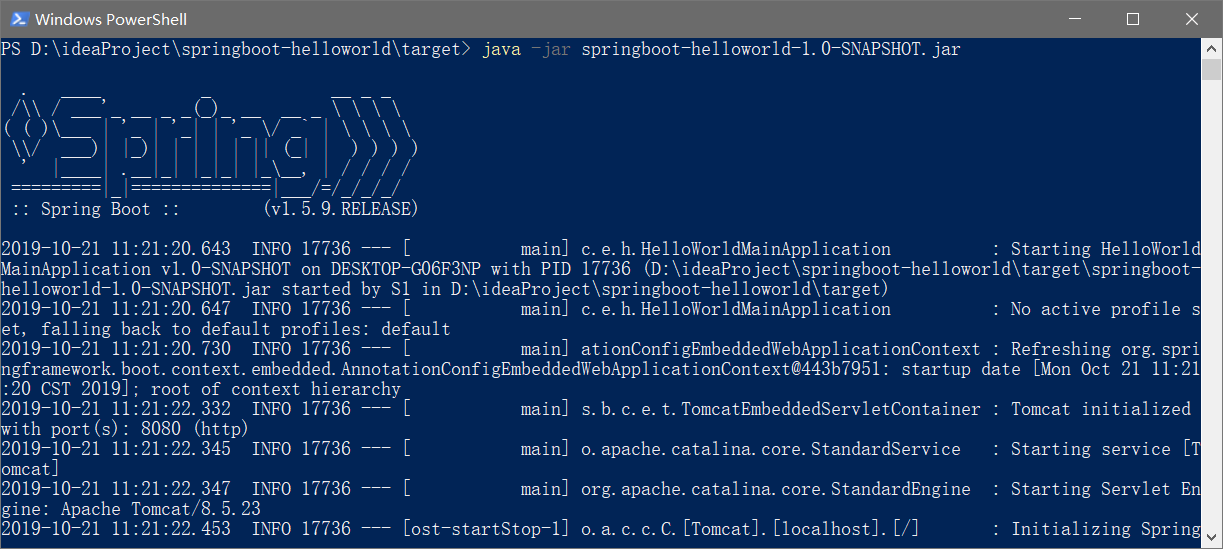
5.运行主程序测试

看到started说明启动成功,访问试试
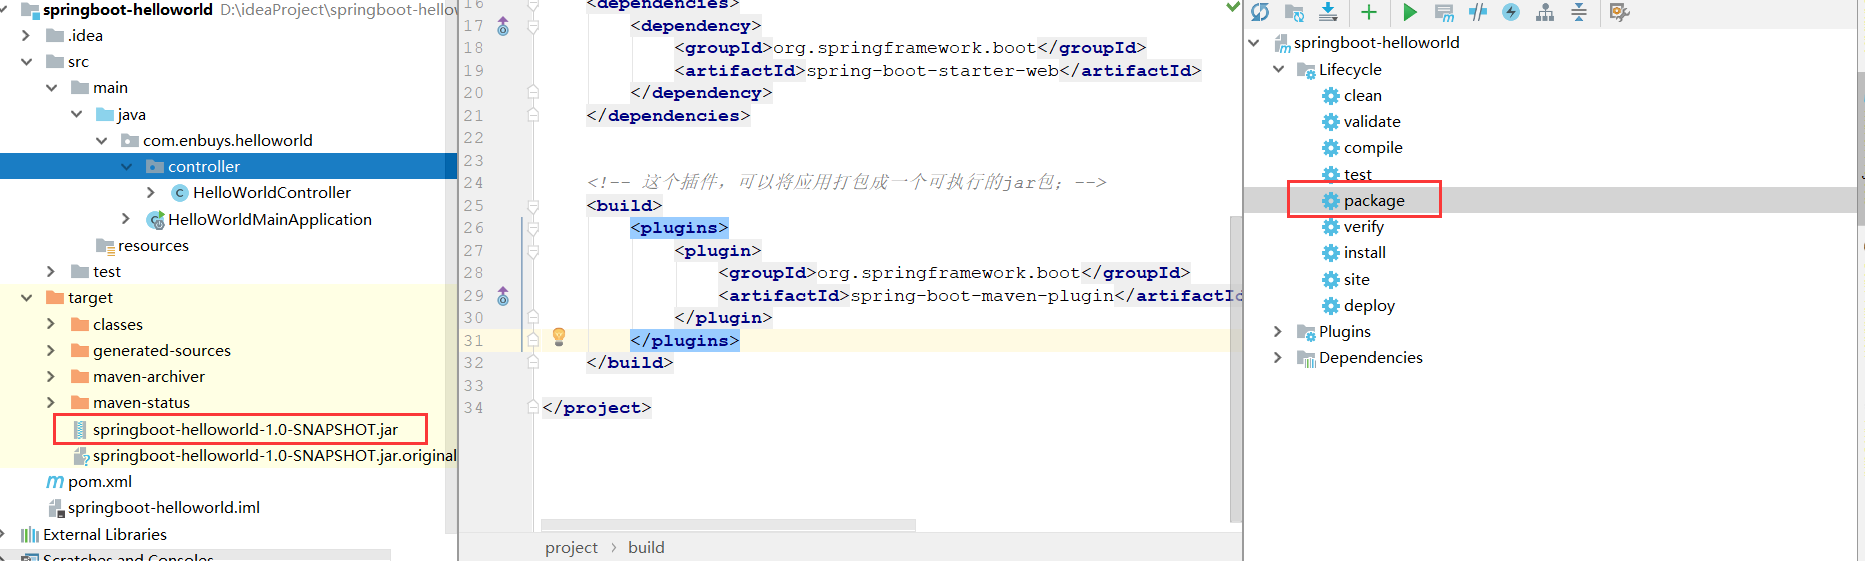
6.简化打包部署
Springboot应用只需在maven中配置插件,然后打成jar包后使用java执行即可
1 | <!-- 这个插件,可以将应用打包成一个可执行的jar包;--> |
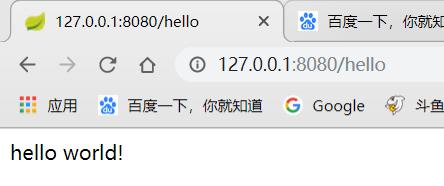
然后我们执行这个jar包试一下
访问localhost:8080/hello,也正确访问
四、POM文件分析
在使用springboot开发时,pom文件仅仅导入了一个父项目和一个依赖就可以了,我们进入查看每个都做了什么事
4.1.父项目
1 | <parent> |
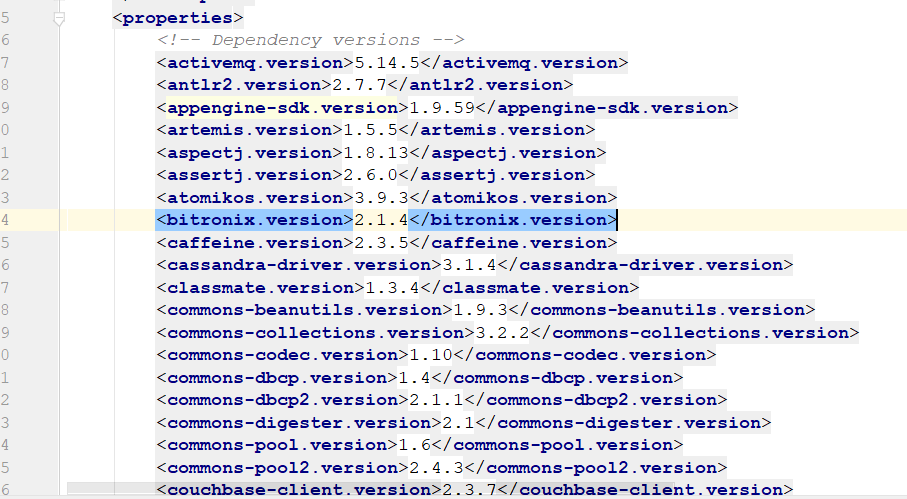
我们进入到parent中,发现他也有一个父项目dependencies,在进入看看

可以发现,主要依赖的jar包以及版本的设置都在dependencies中设置
4.2.启动器
1 | <dependencies> |
和上面一样进入到web中看看
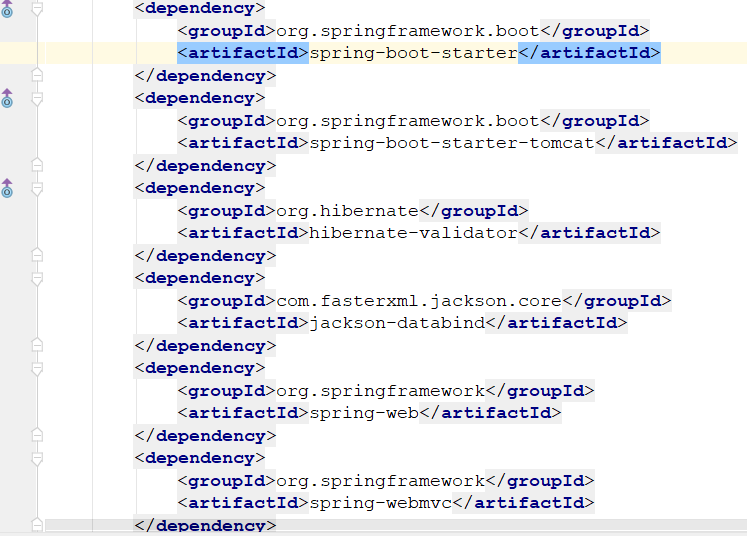
可以看到主要是关于web相关的依赖,比如mvc,tomcat。所以这是一个web启动器
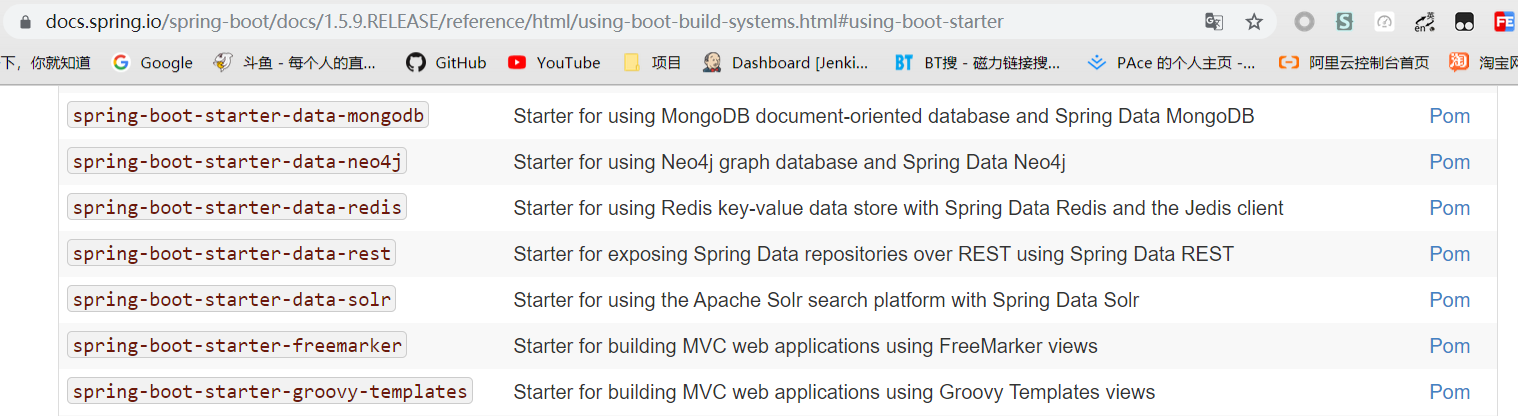
spring-boot-starter:以这个开头代表springboot的启动器,springboot提供了很多启动器,如下图,我们使用的是web启动器。
五、注解简单分析
前面我们看到Springboot启动开发非常简单,这是因为他们绝大部分需要配置的都由注解完成了
1 |
|
@SpringBootApplication:这个注解是最主要的注解,标志主程序类运行,也是主配置类,进入这个注解看一下
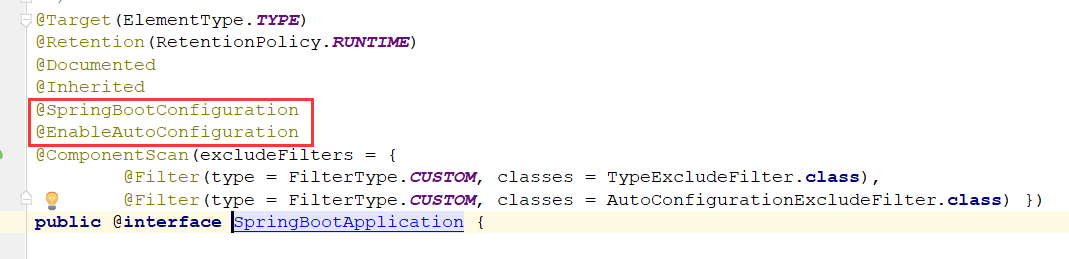
这里会发现两个重要注解,也是为何这么方便开发的原因,再进源码研究一波:
1)@SpringBootConfiguration:Springboot的配置类
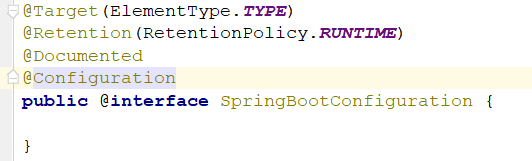
发现有一个@Configuration注解,标志这个类为一个配置类,所以这个大注解的功能就是标志这是一个Springboot的配置类。
2)@EnableAutoConfiguration:开启自动配置功能
这个注解非常关键,是为我们省去很多xml配置的主要角色。

点进去可以看到两个重要注解,@AutoConfigurationPackage和Import:
2.1)@AutoConfigurationPackage:自动配置包

使用了Spring底层注解@Import,导入一个AutoConfigurationPackages.Registrar组件,Debug启动:
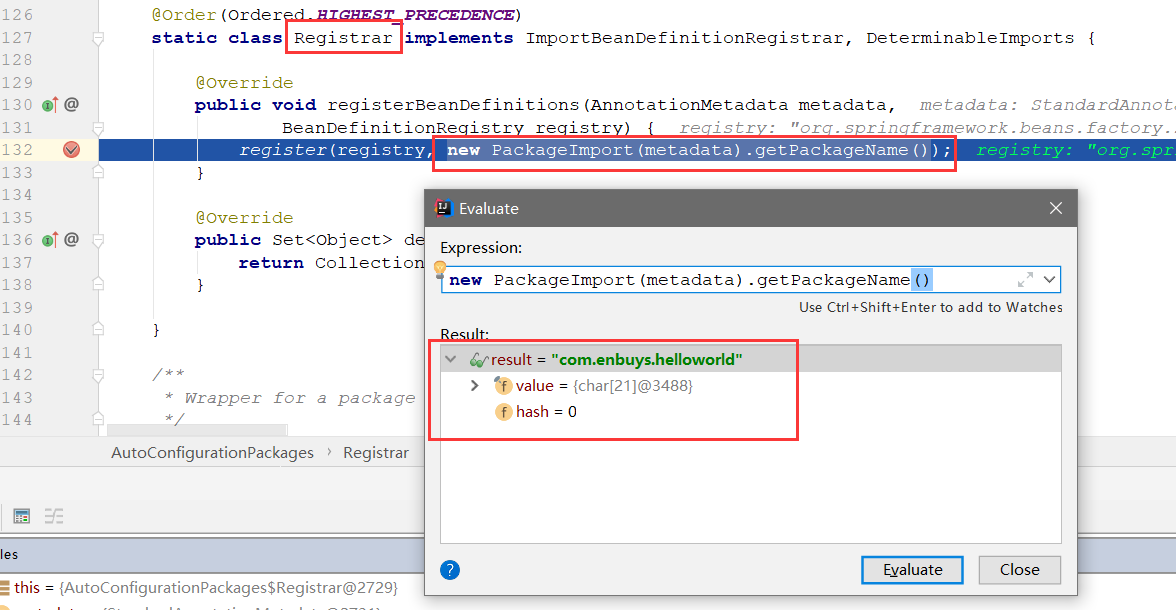
将主配置类(@SpringBootApplication)所在的包及下面所有子包扫描到Spring容器中
2.2)@Import(EnableAutoConfigurationImportSelector.class);给容器中导入组件
我们想要知道它导入了哪些组件,进入源码探寻
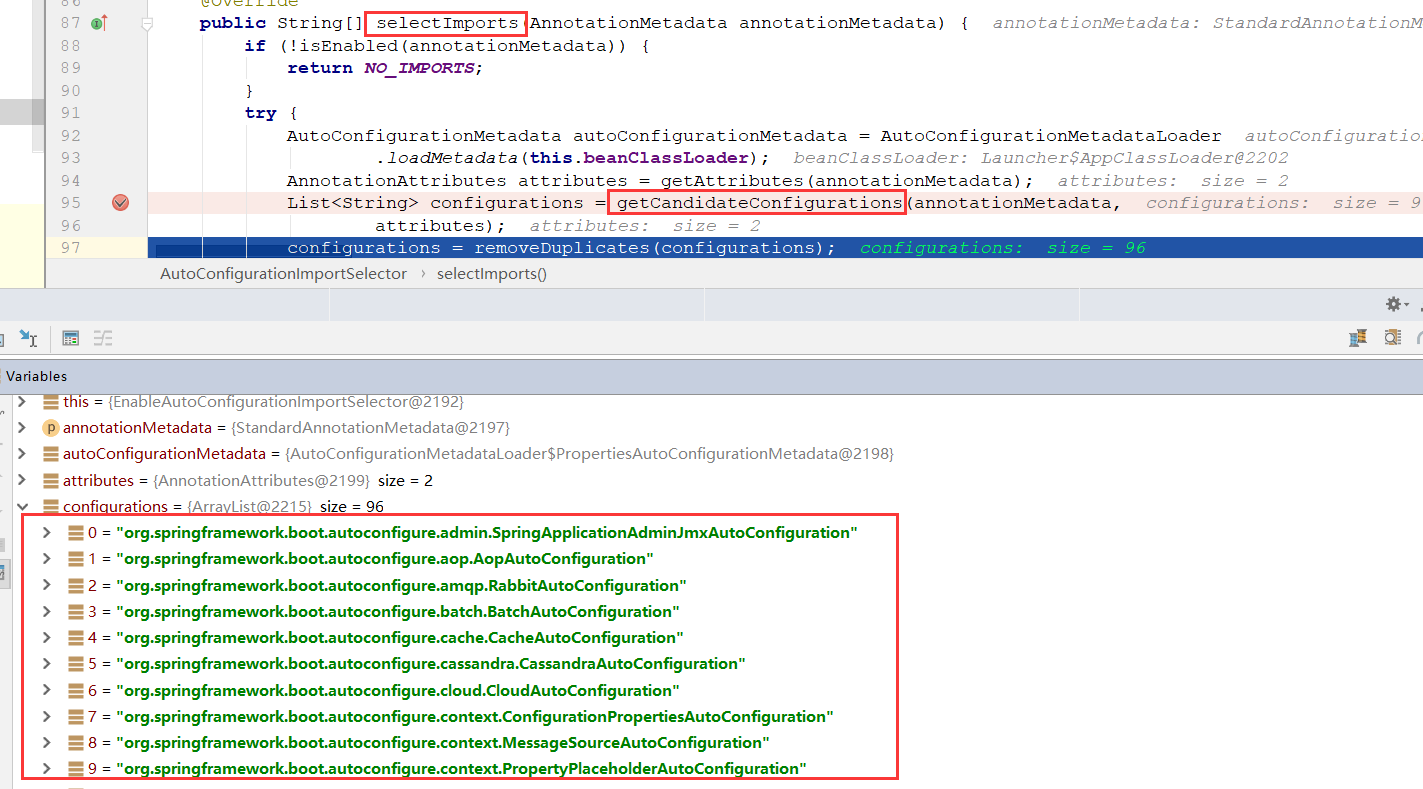
可以看到有一个获取组件的方法,打断点启动,发现配置了很多XXXAutoConfiguration类。这些就是所需的配置类,也省去了我们之前的很多xml配置手动加载的工作。
再点进方法中:==这里使用SpringFactoriesLoader进行读取加载==
 )
)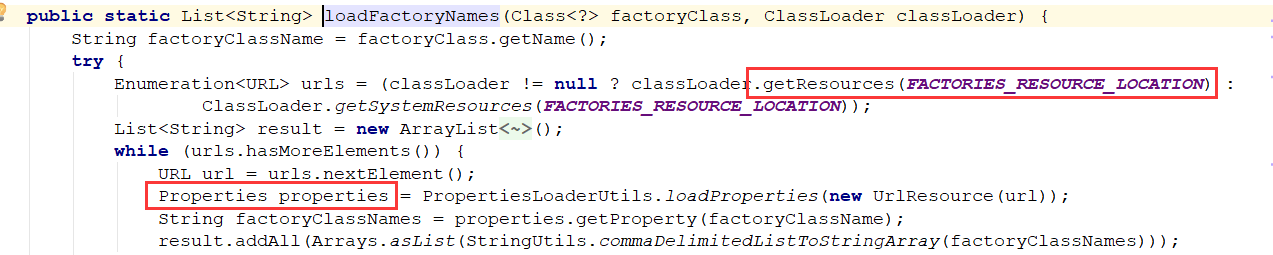 会发现是通过
FACTORIES_RESOURCE_LOCATION读取配置,来当做properties进行加载的
public static final String FACTORIES_RESOURCE_LOCATION = "META-INF/spring.factories";
使用的是这个文件,进入源码看一下:
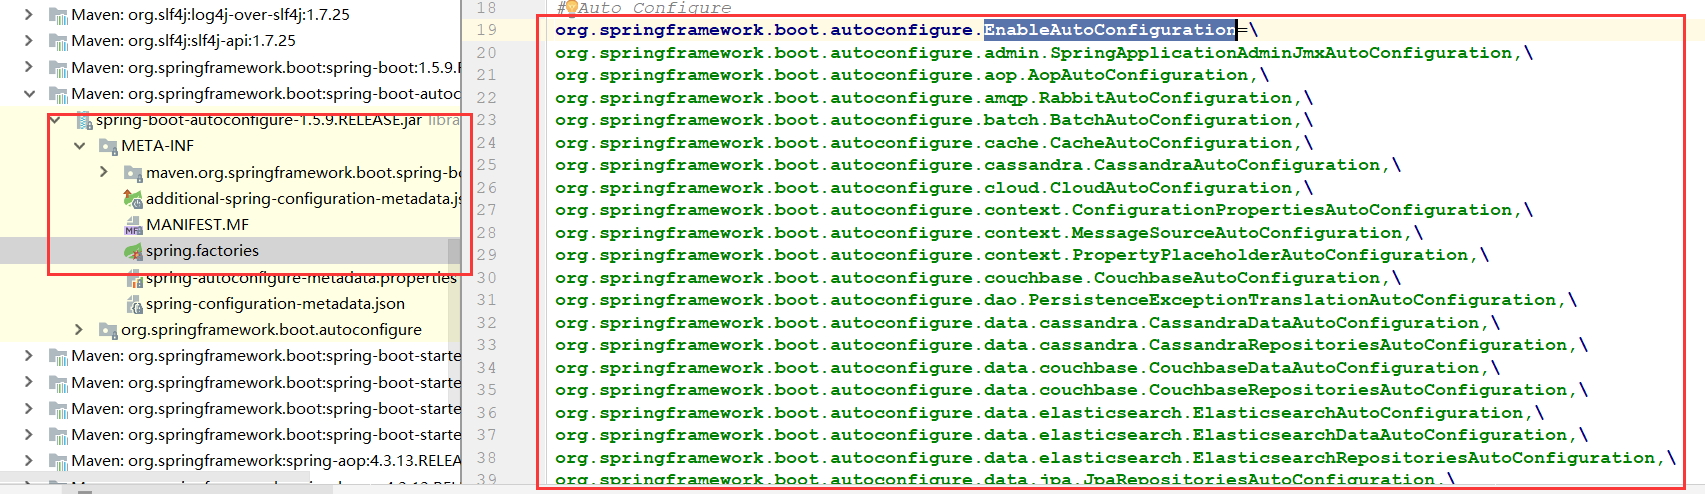
会发现全部在Springboot自带的配置文件中配置好了,所以我们再总结一下:
Spring Boot在启动的时候SpringFactoriesLoader从类路径下的META-INF/spring.factories中获取EnableAutoConfiguration指定的值,将这些值作为自动配置类导入到容器中,自动配置类就生效,帮我们进行自动配置工作
六、启动原理分析
SpringBoot的启动主要分为两步

1.创建SpringApplication
通过源码可知,创建SpringApplication对象主要通过initialize(sources)方法
1 | private void initialize(Object[] sources) { |
主要步骤:
- 判断classpath下是否存在某个特征类,即判断是Web应用还是普通的java应用
- 使用SpringFactoriesLoader根据META-INF/spring.factories加载创建所有ApplicationContextInitializer
- 使用SpringFactoriesLoader根据META-INF/spring.factories加载创建所有ApplicationListener
- 找到主配置类并设置,这时SpringApplication对象就创建好了
2.执行run方法
run方法源码:
1 | public ConfigurableApplicationContext run(String... args) { |
具体步骤:
- 首先加载所有SpringApplicationRunListener,调用他们的starting()方法,表示springboot已经开始运行了
- 封装命令行信息,以及环境信息(包括配置要使用的PropertySource以及Profile),创建实例对象
- printBanner在控制台打印Springboot标识
- 创建一系列FailureAnalyzer,FailureAnalyzer用于分析故障并提供相关诊断信息
- 创建一个ApplicationContext ioc容器,接下来准备环境
- prepareContext,配置容器的上下文,环境,listeners,applicationArguments,printedBanner信息
- 将准备好的Environment设置给ApplicationContext
- 遍历调用所有的ApplicationContextInitializer的initialize()方法来对已经创建好的ApplicationContext进行进一步的处理
- 调用SpringApplicationRunListener的contextPrepared()方法,通知所有的监听者:ApplicationContext已经准备完毕
- 将所有的bean加载到容器中
- 调用SpringApplicationRunListener的contextLoaded()方法,通知所有的监听者:ApplicationContext已经装载完毕
- refreshContext:刷新容器,即扫描创建加载所有组件的地方(最重要的一步,在后面研究Spring注解版源码时详细介绍)
- afterRefresh,获取ApplicationRunner和CommandLineRunner,执行一些回调方法
- finished,告诉所有监听器SpringBoot启动完毕(如果启动错误,也会执行并添加异常信息)
- 最后返回ioc容器